| 4. EXPLORER 4.1 Menu bar in Explorer 4.1.1 Data view 4.1.2. Search 4.1.3. Help 4.1.4. Filters 4.1.5. Favourites 4.2 Projects tab 4.2.1 Samples EXTERIOR/INTERIOR 4.2.2 Own projects 4.2.3 Additional menu 4.3 Collections tab 4.3.1 Colour and material selection 4.3.2 Own collections 4.4 Filters 4.5 Favourites |
4.3.2 Own collections
Create new collection To create a new collection folder, click the "+" icon at the top of the list or choose "File" > "Create new collection folder" in the main navigation. A new window opens in which you enter the folder name. Enter an appropriate collection name. Then click "OK". The new collection folder now appears in the "Own collections" list. Delete collection folder To remove an existing collection folder irrevocably from the list of your collections, first select the collection by clicking the collection name (it has been selected when the collection name is highlighted in white and the contents are shown in the view area). Click the "-" button and confirm with "Yes" to delete the folder. To delete individual image data, click the "X" at the upper right edge. Note: Collections/image data that have been deleted cannot be recovered. Importing your own images To import your own collection content, first click the collection folder in which you want to save the image data. Click the flower icon in the additional menu bar. In the window that then appears, click the icon on the upper left to access the data on your computer. Select the desired collection image and click "Open". Then specify the required width and height in cm for your image, and optionally a name. Then click "OK" - the image is saved in the selected collection folder. If you want to import your image with a non-proportional aspect ratio, deactivate the tick mark between height and width and enter the desired dimensions. The image is then imported with the desired distortion. You can apply the option "Tile image" to an image. The image is then repeatedly displayed on the specified width/height pitch if, for example, you place it on a larger wall. Deactivate the function "Tile image" if the image is only to appear once on the wall. Note: When selecting your image dimensions, keep the image size required in PHOTOstudio in mind. Note: You can import the following formats: tif, jpg or png with transparent background. Changing image sizes In the views "M - XL" the "i" button is visible. On clicking the "i" button a new window opens. You have the possibility of changing the size of an image retrospectively. You can rename the file by entering a new name in the input field "Material name" and clicking on the "OK" button. To close the material details, click the "X" at the top right-hand edge of the window.  Import with ColorMunki The X-Rite ColorMunki lets you import colours and save them in "Own collections". To do so, connect the ColorMunki to your computer. Then click the "Import with ColorMunki" button and follow the instructions. 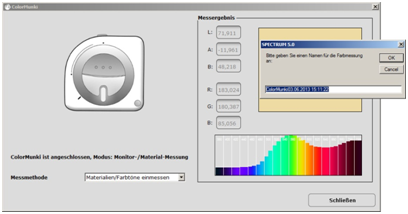 ColorPen sync You can use the interface between ColorPen 3D and SPECTRUM to import all the colours samples produced with ColorPen 3D and save them in a collection folder under "Own collections", and then use them for design work in SPECTRUM. Connect the ColorPen 3D to your computer and then click the "ColorPen sync" button. All sampled colours are then copied from ColorPen 3D to the active collection folder. Importing collections using a TXT file Using the "TXT" button, you can import colour collections into SPECTRUM for use in your design. The file with the RGB values must be available as a TXT file. The structure of this file must conform as follows below: 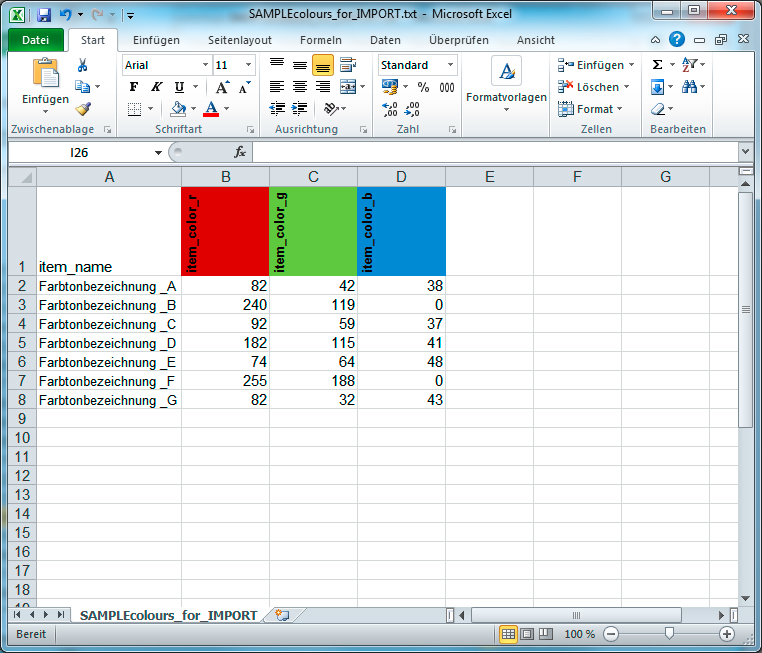 Note: If you have produced an RGB list in Excel, it must be saved as a TXT file. First, generate a new folder with the symbol "+" in the upper section of the list. 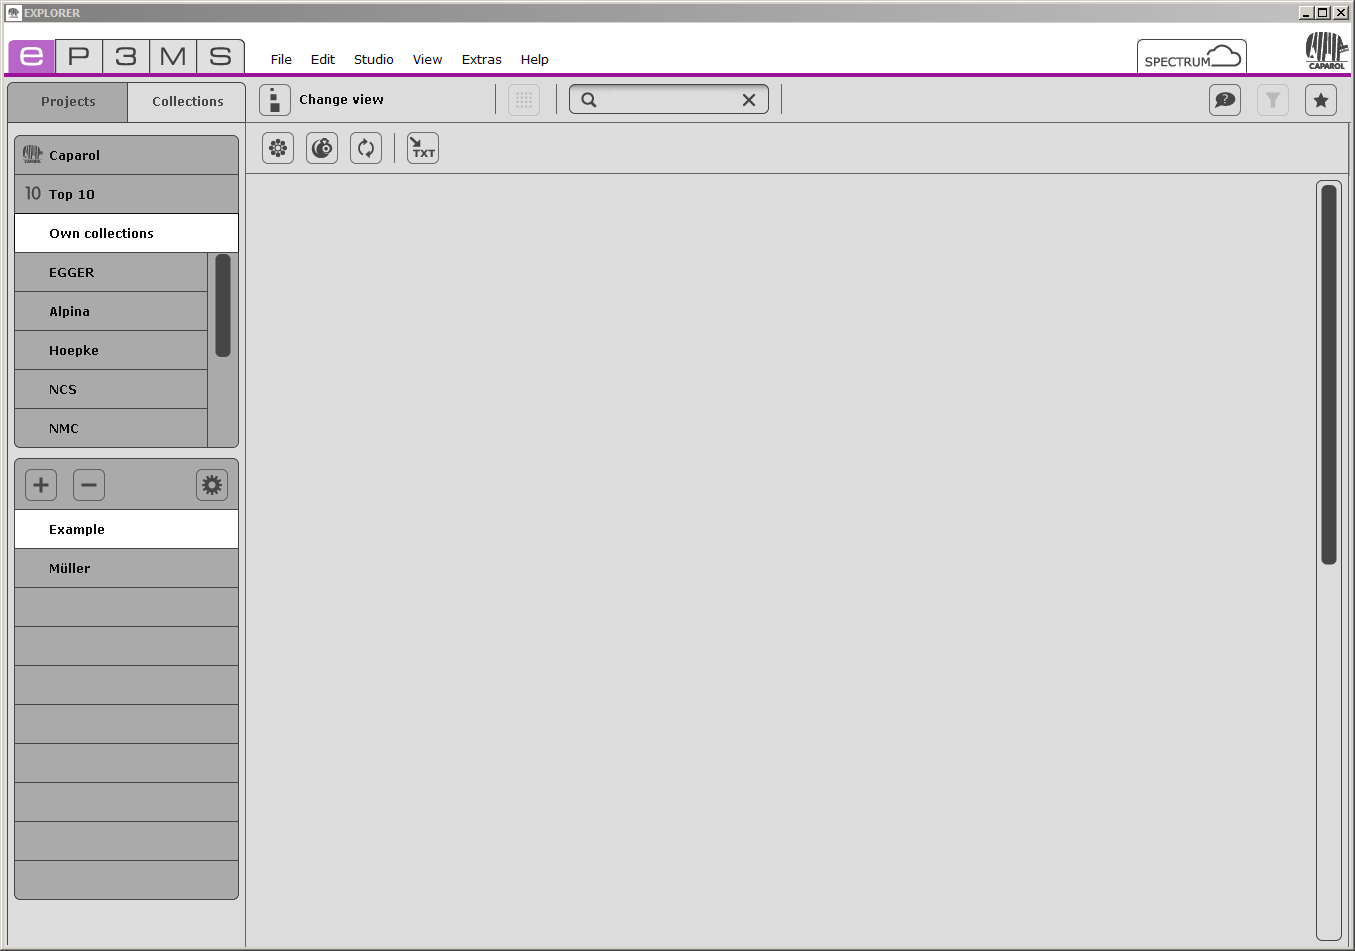 You then import the desired collection with the "TXT" button in the tool bar. 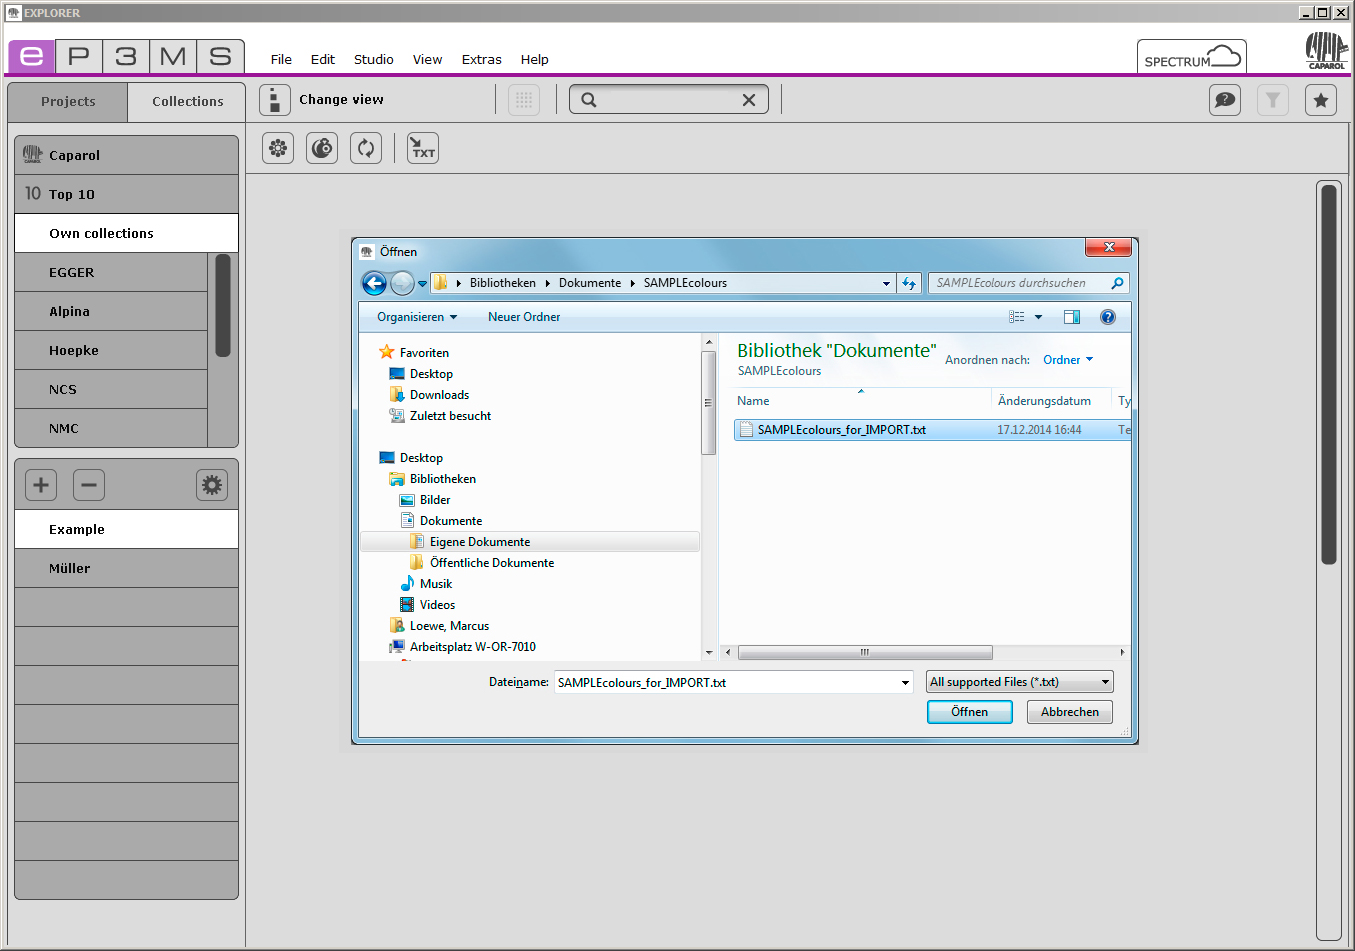 Once the import has finished, the colours are displayed in your folder and are available for further design work in your SPECTRUM version. 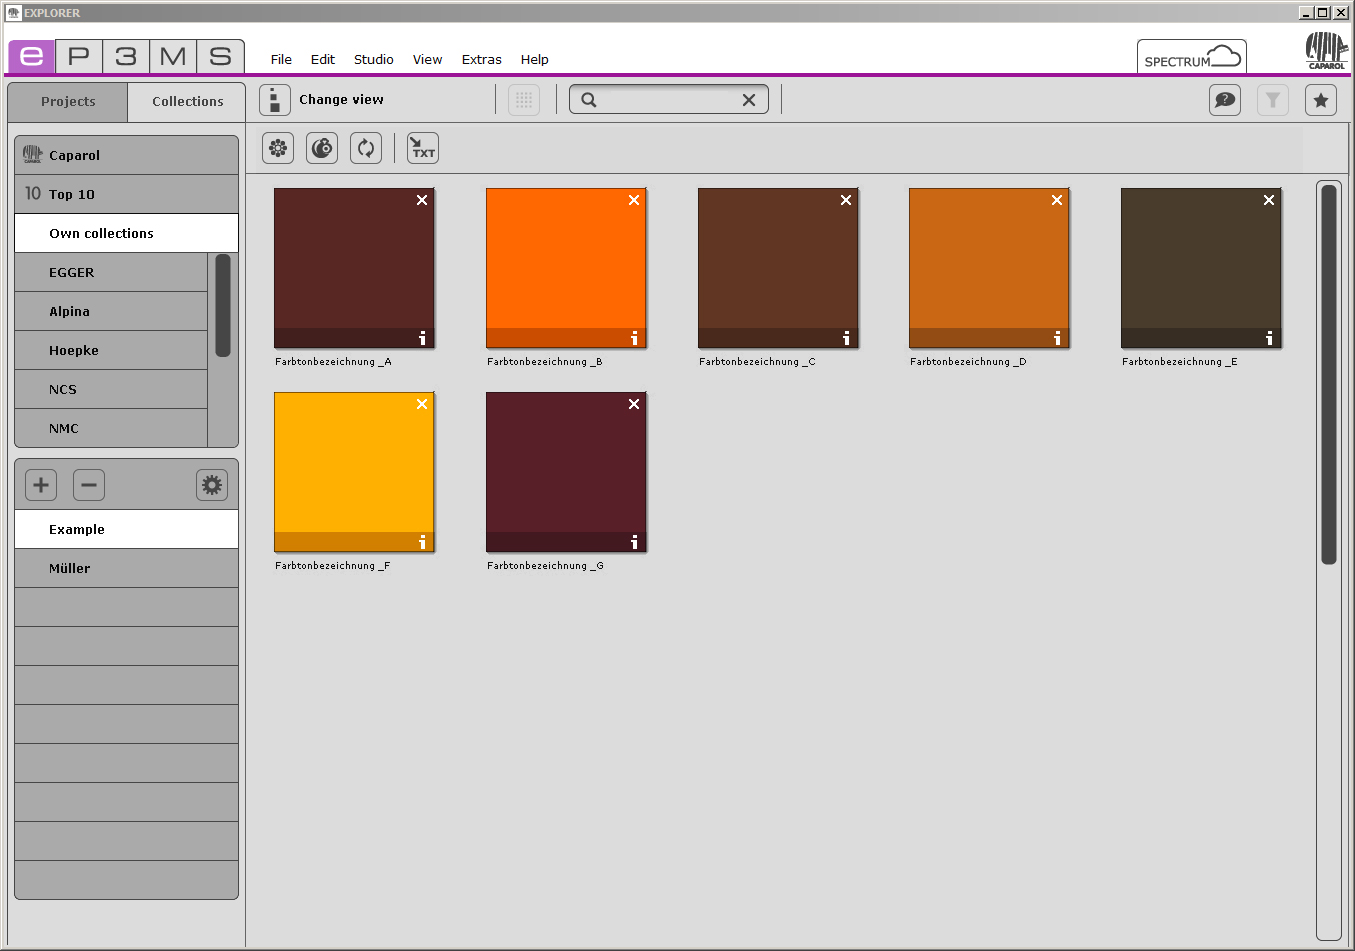
|